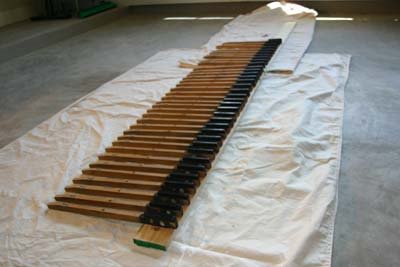
 The Erard is now stripped bare, ready for a complete refinishing of the soundboard, plate, and interior of the case.
 The Erard is now stripped bare, ready for a complete refinishing of the soundboard, plate, and interior of the case.

 The interior of the piano is a mess, and was not refinished the last time the outer case was refinished. There is staining here and there and the finish is blotchy and very amber. So, this is the first test of finish removal. With a simple cabinet scraper, the old finish flaked off easily.
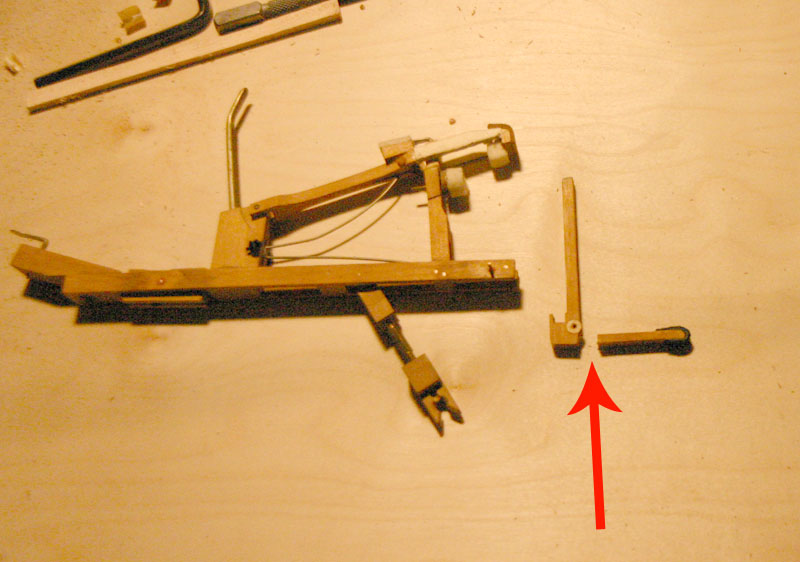

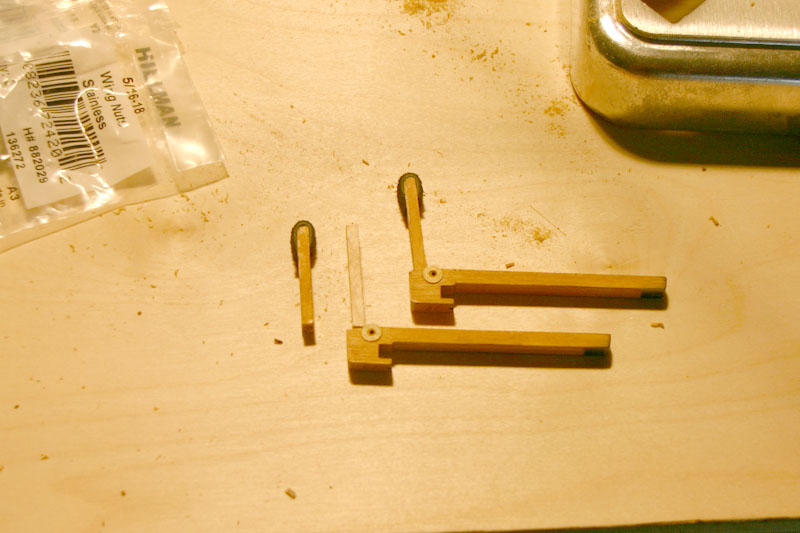
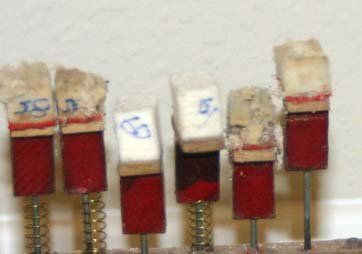
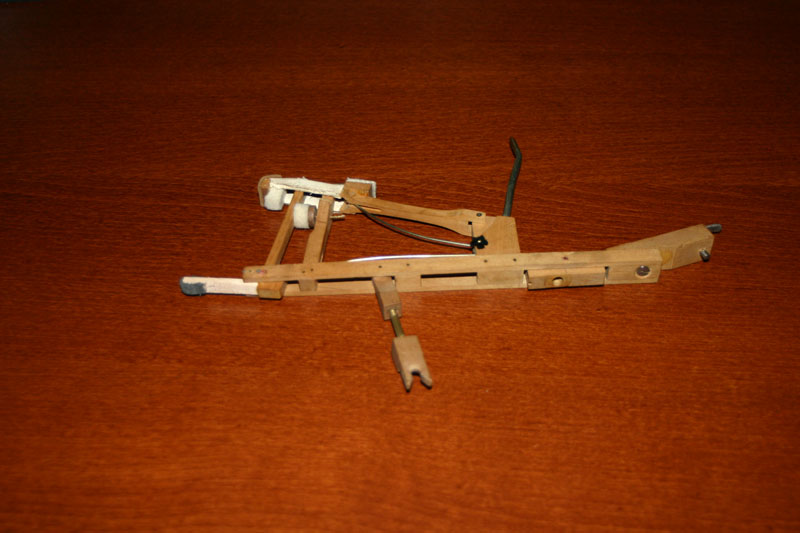 The reassembled Whippen, with the repaired jack installed.
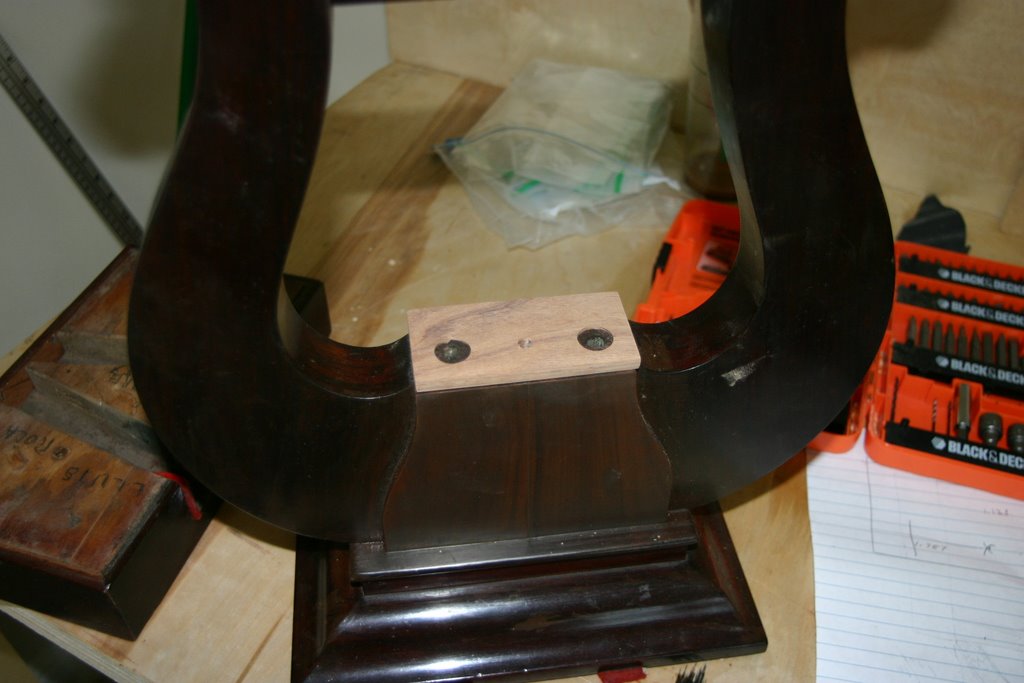


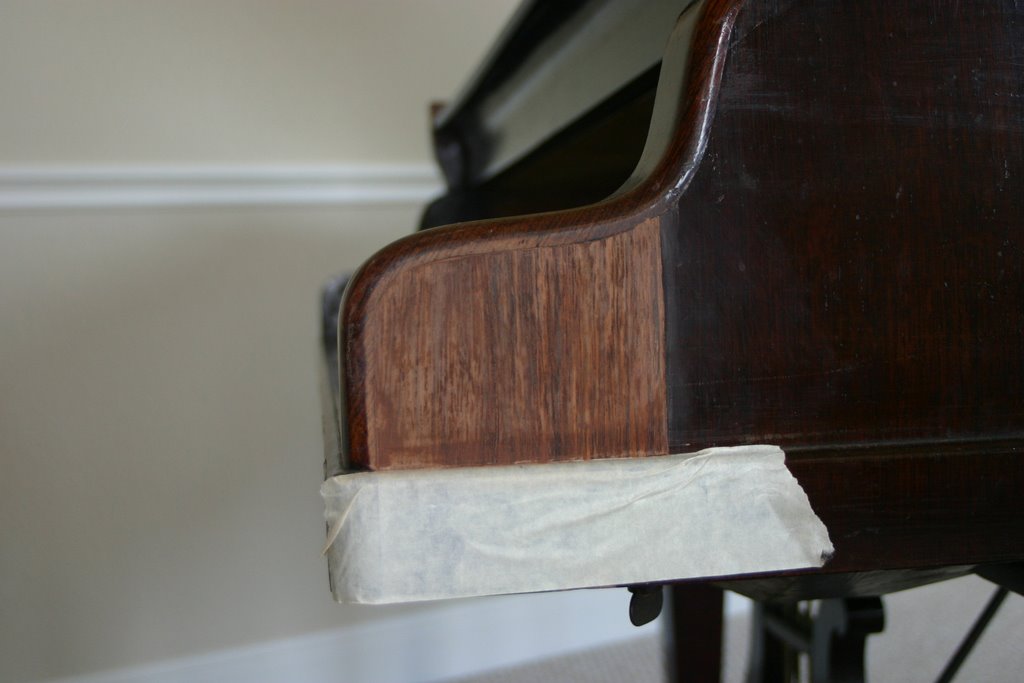
 Here is one of the legs--the metalwork is all done, so I moved on to the veneer repairs. If you recall, these were BAD, so I just sanded the old veneer to removed the high and low points, filled the gaps with wood filler and then veneered over the old wood. This wood is walnut, while the rest of the piano is rosewood. The grain is a good match, though, and I have pre-tested the color.
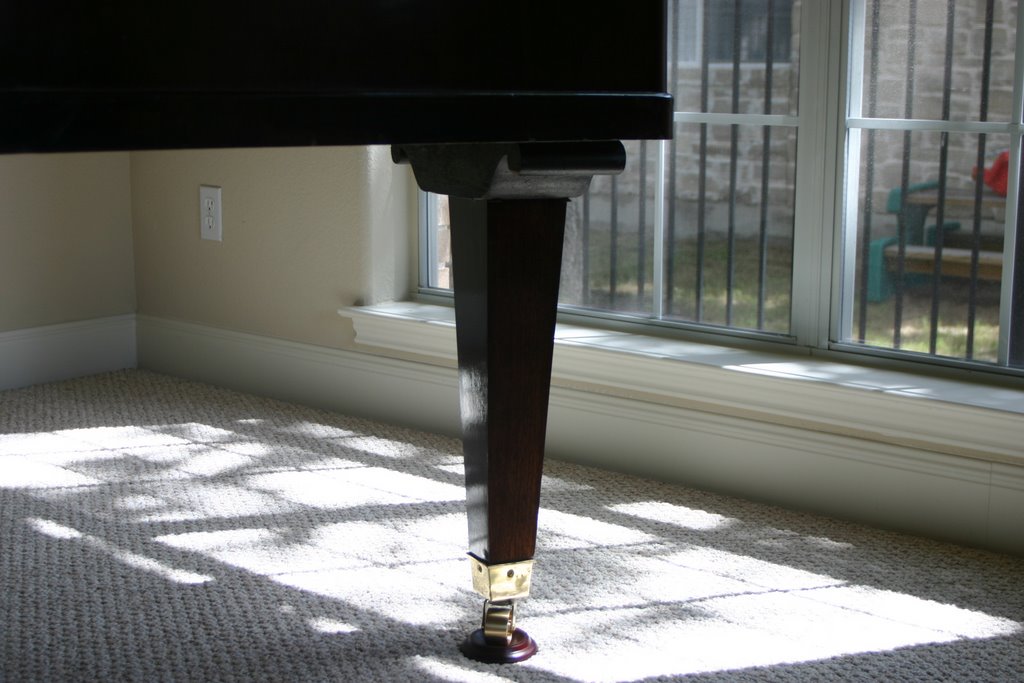
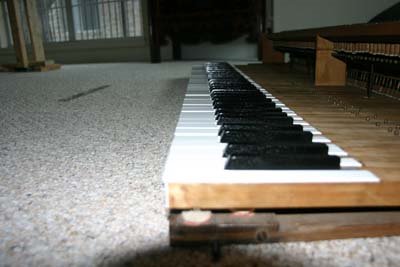 Finally, I have finished with the key tops. This got REALLY boring by the last one. A very tim-consuming job, but the results were spectacular.
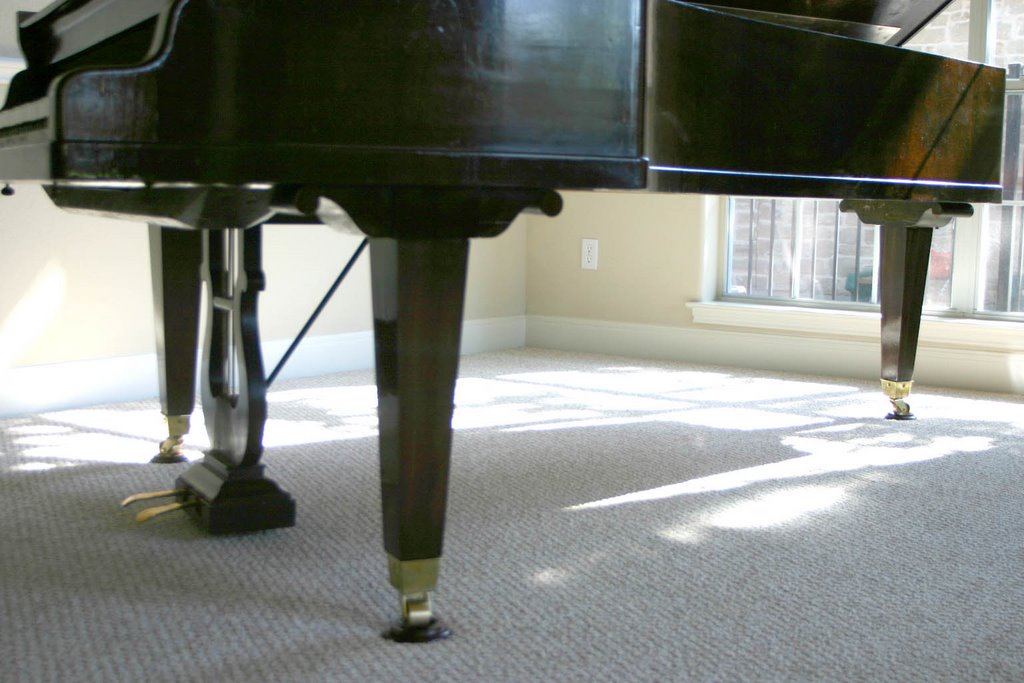
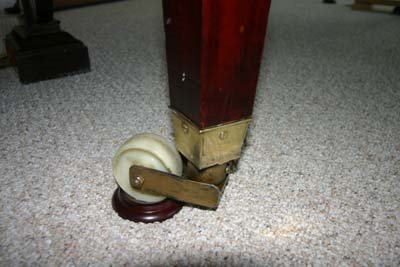 Look at this caster--this is wrong on so many levels. First, look at it bend--physics is winning the battle against this caster, and the only thing holding the caster and ferrule on to the leg are four very overworked screws. Next, look at the color of the lower part--the ferulle is brass, and polishes nicely, but the arm on the caster is steel with brass paint. These were totally homemade by some amateur in a machine shop.
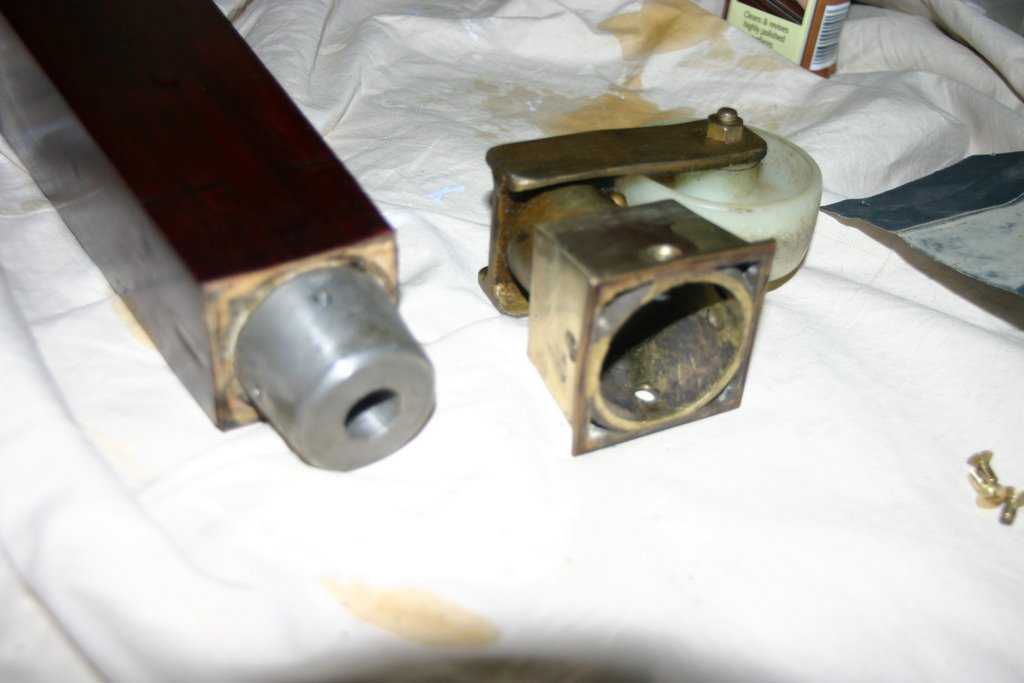 Here you can see the caster assembly. The assembley is very heavy and the ferrule (which I want to use) is welded to the caster. I had to cut the ferrule away with an angle grinder.
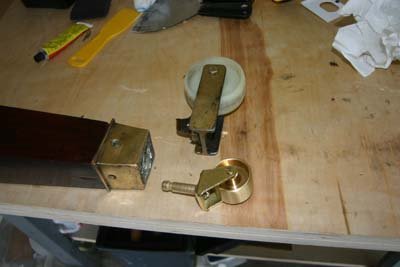
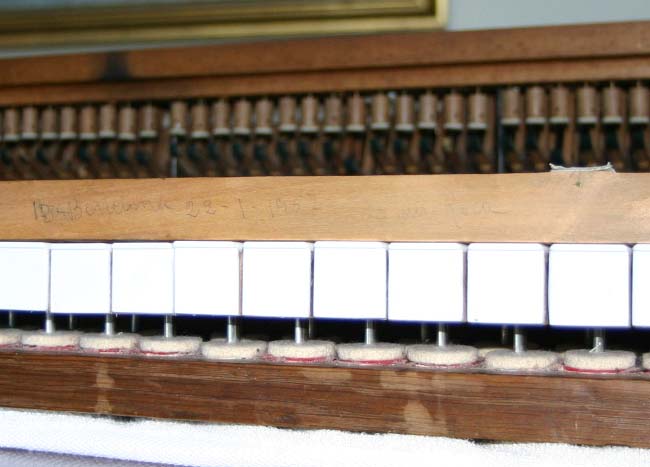 I found this message written in pen on one of the keys. I am not sure if you can read it but it has the date 22-1-1957 (49 years ago!), and the words "Barclona", and _____ Roca.
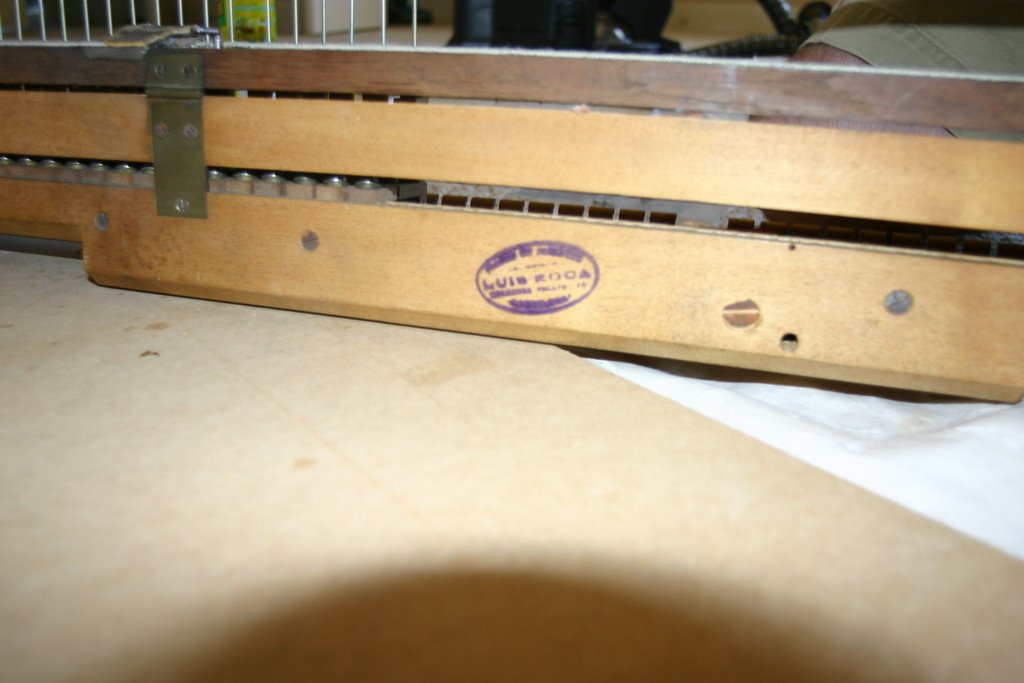 Later, when working up the dampers and damper assembly, I came across the following stamp. It says "Luis Roca" across the center, and at the bottom is says "Barcelona". These clues point clearly to a complete restoration in 1957, in Barcelona, Spain. How this thing got to Texas I have no idea.
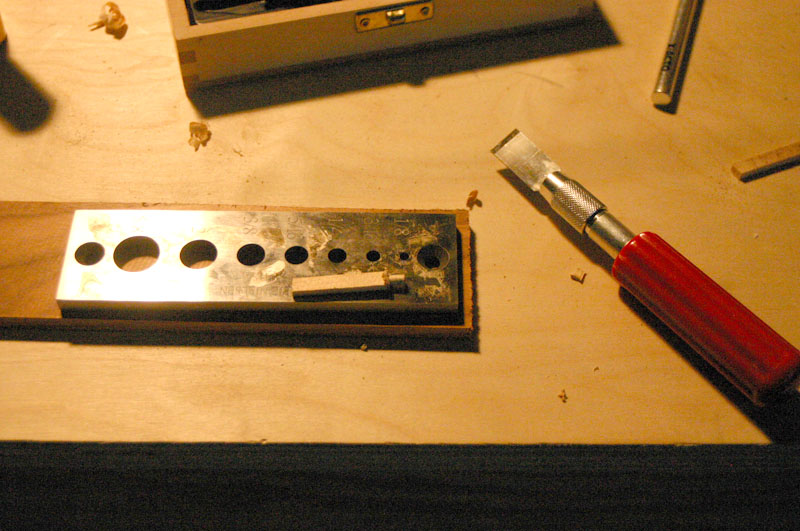
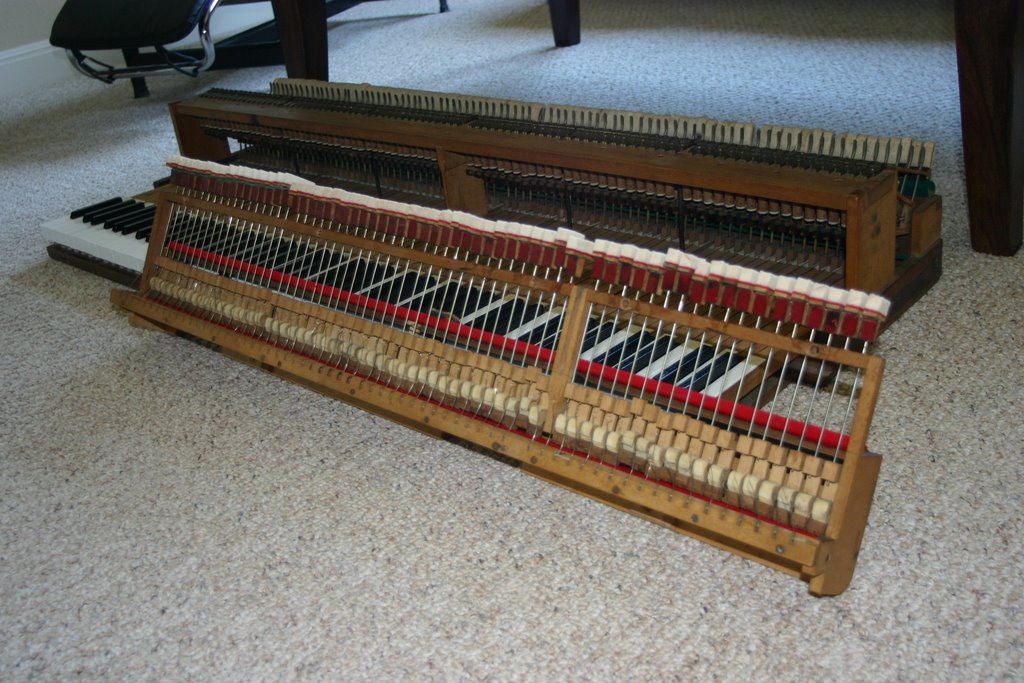
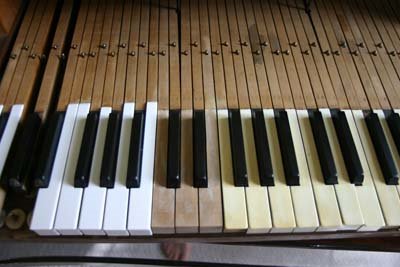 Ahh...finally the keys come to life with brand new plastic keytops from International Piano Supply. The old ivories I'll sell on Ebay. I broke a jack (part of the action) removing one of the keys. That's two broken jacks now. I'll have to fix that later, but it's something I need to learn how to do anyway.

 Here it is--the ivory removal kit, household iron and a good quality (Hyde) paint scraper with a stiff blade and a decently sharp edge. TIP: heat the ivory on the "Cotton" setting for about 15 seconds. Let the heat soften the glue. If the ivory does not peel off easily, then either the glue did not get hot enough, or there was a recent repair with epoxy or some other type of adhesive. This part of the operation went very well.
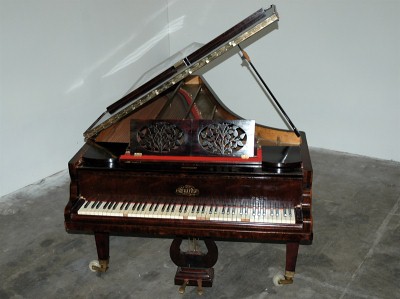 Well, here it is, the 1859 Erard Grand Piano, Serial number 31173, manufactured in Paris. It's 96 inches long, a full grand. As you can see, the keys are a mess, the casters are obviously not original, and the brass is dull. It sounds terrible too. I got it on Ebay for $1180, and $600 to deliver it from Houston to Austin. It has a nice rosewood case, definitely bumped around the edges.

