
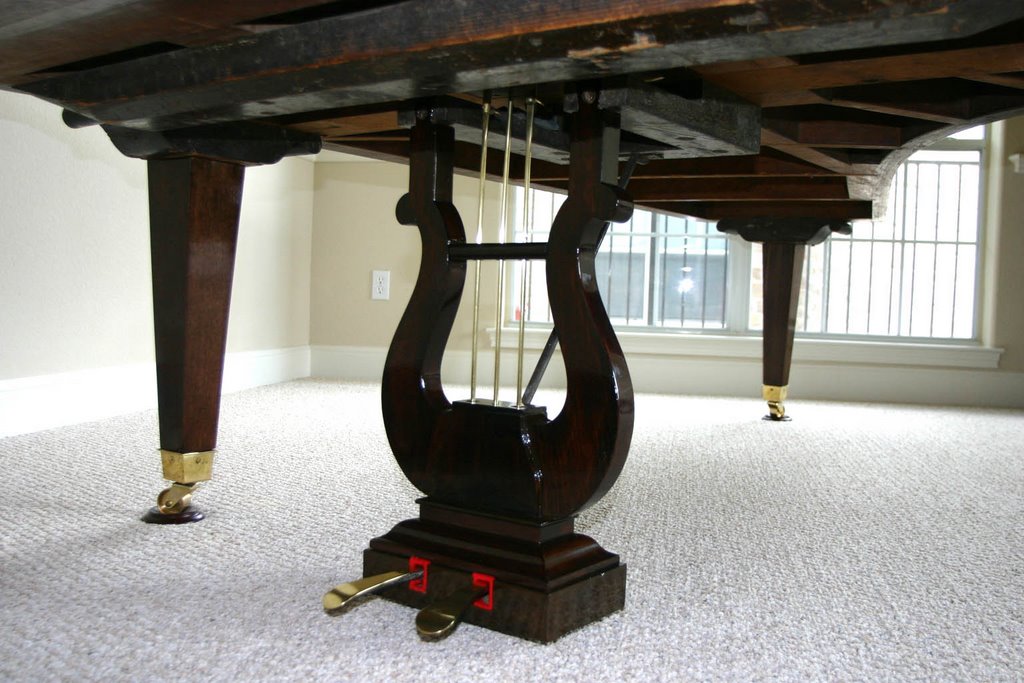
Finished!
 Well, after my best estimate of the Erard Piano's age based upon serial numbers (I guessed 1859) it turns out that an artisan's mark on whippen #11 "A. Royer"--I have seen that name before in photos of other Erards from the period--indicates a manufacture date of 1858.
  These other photos show the installation of the new back rail felt (the green felt ribbon) and the regulation of the key height...
 Tuning up now. The sound is nice and deep. The Erard holds a tune nicely with the new #2 pins. The restoration is nearly complete...
 Here's a picture of my tuning set-up: tuning hammer and a rubber mute. What you can't see is the condenser microphone plugged into an electronic tuner...
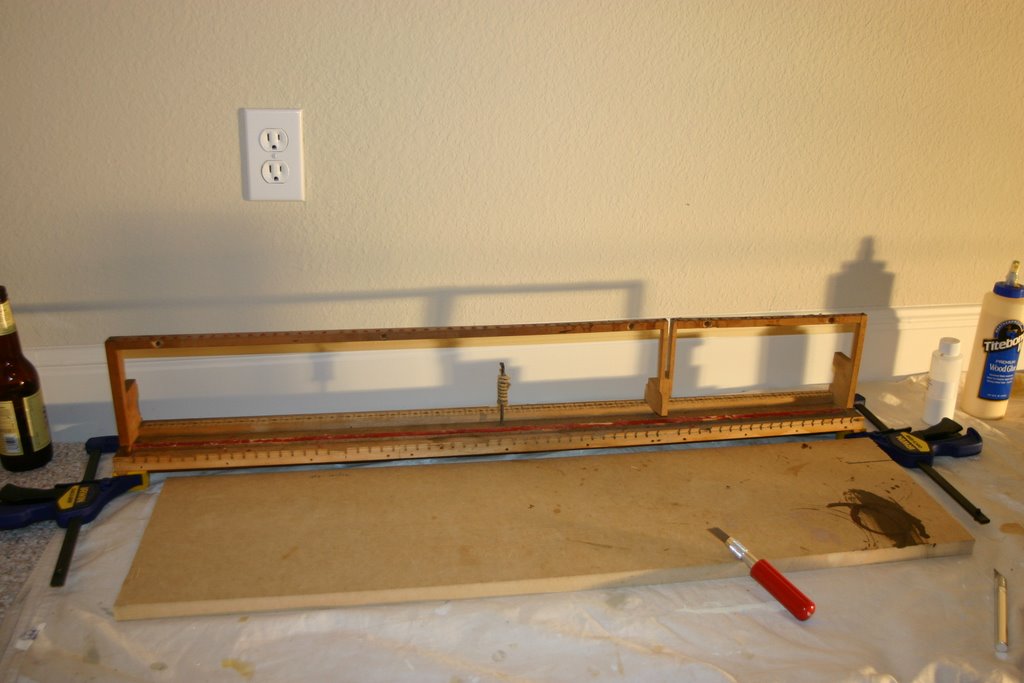
 Restringing now...starting from the bass and moving up. All the new felt is installed. The brass agraffes are all fully polished to brand new condition and have been lacquered. New tuning pins are nice and tight--this piano will tune up nicely.
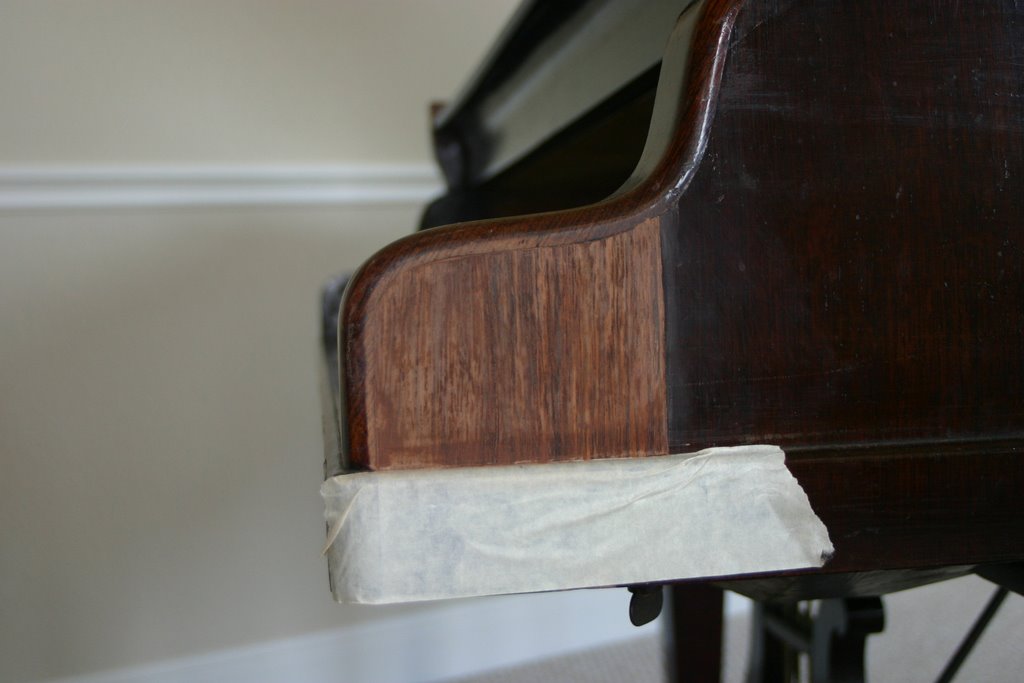
 Finally, I am approaching the end of the soundboard refinishing. The wood turned out to have a wonderful flame, and good amber color. The sealer I used was Rockler's shellac kit--mixing your own shellac truly does make a difference, it dries harder than Zinsser premixed shellac. The finish is 4 coats of Oxford premium spray lacquer.

 This is hard to see, but I have glued a slender shim into a crack in the soundboard. The block on top of the shim are compressed down with strap until the shim dries in place.
  The arrows indicate a completed repair.


 The Erard is now stripped bare, ready for a complete refinishing of the soundboard, plate, and interior of the case.

 The interior of the piano is a mess, and was not refinished the last time the outer case was refinished. There is staining here and there and the finish is blotchy and very amber. So, this is the first test of finish removal. With a simple cabinet scraper, the old finish flaked off easily.
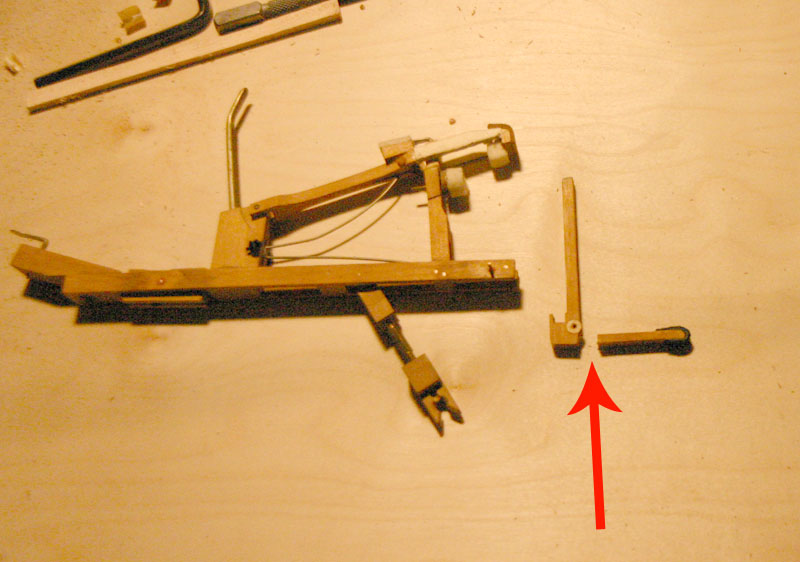

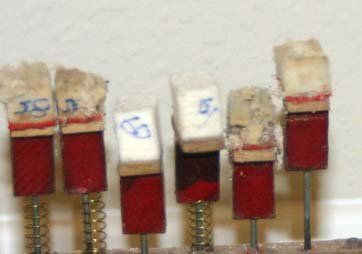
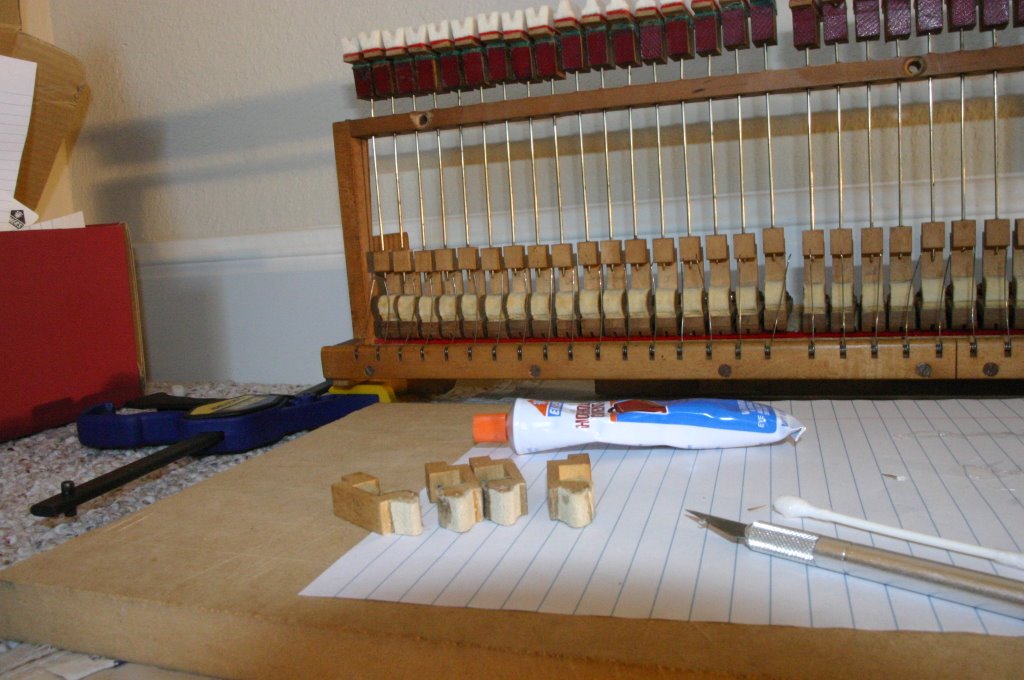
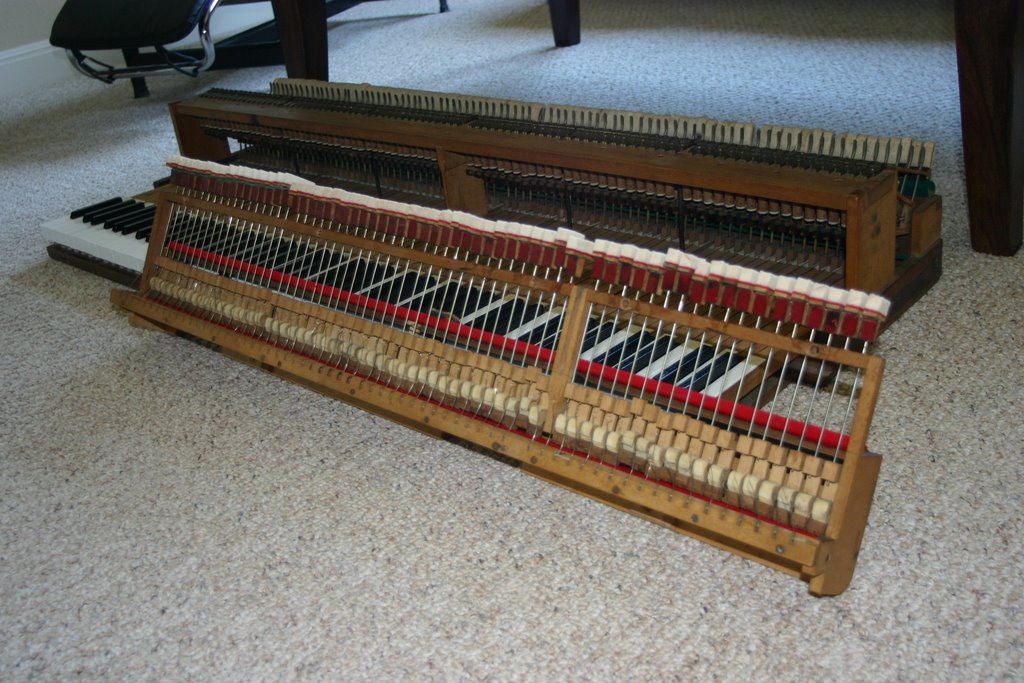
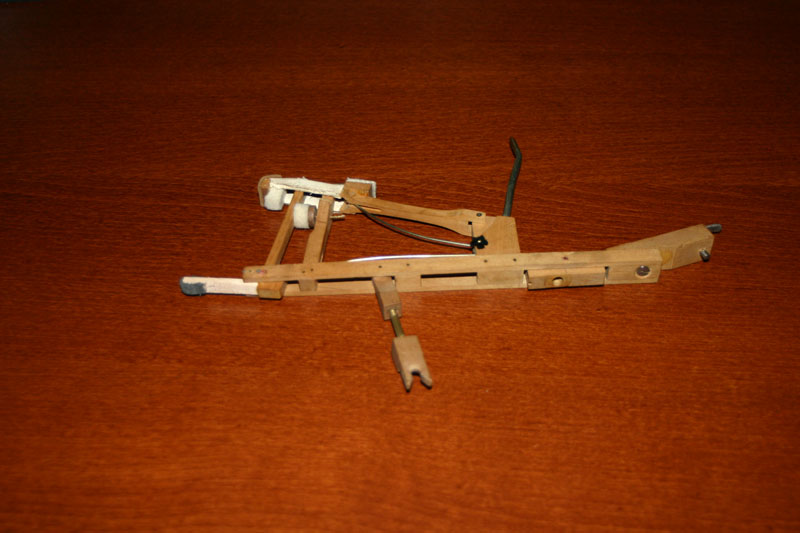 The reassembled Whippen, with the repaired jack installed.


 Here is one of the legs--the metalwork is all done, so I moved on to the veneer repairs. If you recall, these were BAD, so I just sanded the old veneer to removed the high and low points, filled the gaps with wood filler and then veneered over the old wood. This wood is walnut, while the rest of the piano is rosewood. The grain is a good match, though, and I have pre-tested the color.
 Finally, I have finished with the key tops. This got REALLY boring by the last one. A very tim-consuming job, but the results were spectacular.
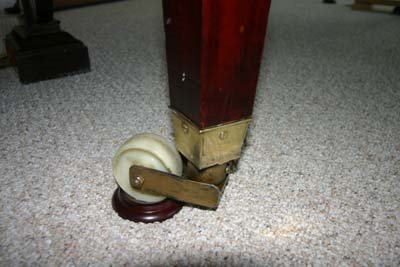 Look at this caster--this is wrong on so many levels. First, look at it bend--physics is winning the battle against this caster, and the only thing holding the caster and ferrule on to the leg are four very overworked screws. Next, look at the color of the lower part--the ferulle is brass, and polishes nicely, but the arm on the caster is steel with brass paint. These were totally homemade by some amateur in a machine shop.
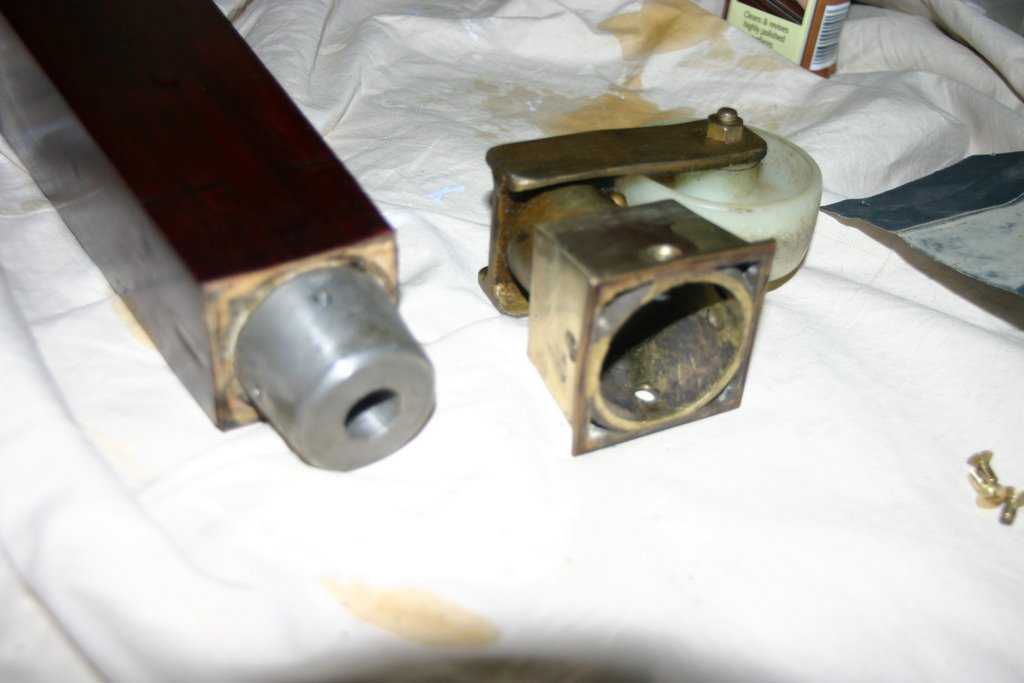 Here you can see the caster assembly. The assembley is very heavy and the ferrule (which I want to use) is welded to the caster. I had to cut the ferrule away with an angle grinder.
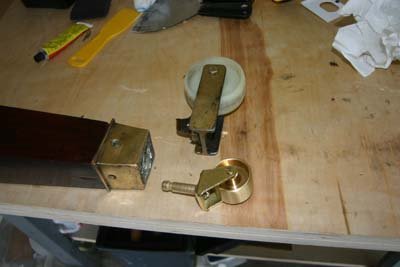
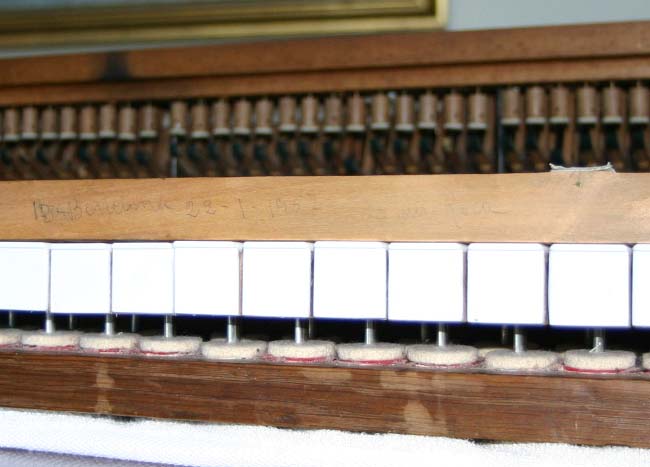 I found this message written in pen on one of the keys. I am not sure if you can read it but it has the date 22-1-1957 (49 years ago!), and the words "Barclona", and _____ Roca.
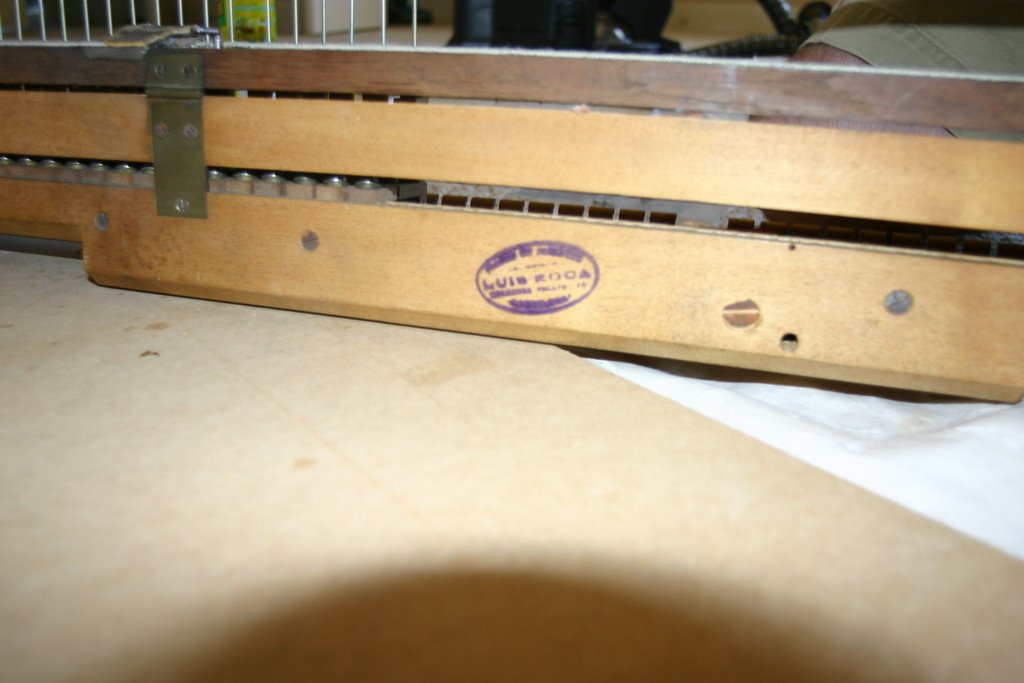 Later, when working up the dampers and damper assembly, I came across the following stamp. It says "Luis Roca" across the center, and at the bottom is says "Barcelona". These clues point clearly to a complete restoration in 1957, in Barcelona, Spain. How this thing got to Texas I have no idea.

